
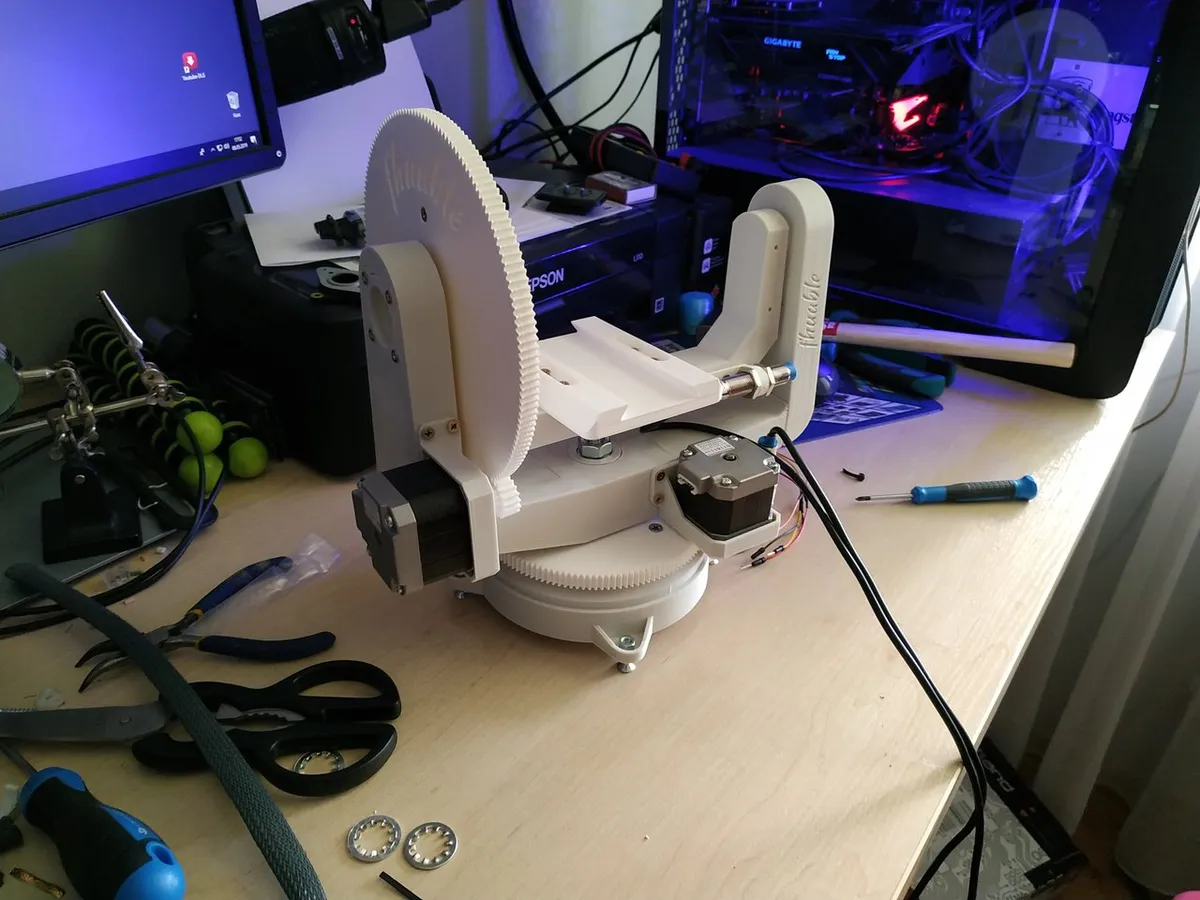
The first part of building a gimbal on a rail for a DSLR camera, for motion timelapse videos and 360-degree photos: assumptions, parts needed, and over 100 hours of 3D printing.
Technologies
- druk 3D
- NEMA17
- Autodesk Netfabb
- Thingiverse
As I wrote before, I bought a 3D printer. The initial excitement has passed, the kids have plenty of printed gadgets now, so it's time for something more serious.
I enjoy photography, so I decided to build a device for motion timelapse videos and 360-degree photos. Factory-made ones cost several to tens of thousands of zloty. I have a printer and an idea, so it's time to take action.
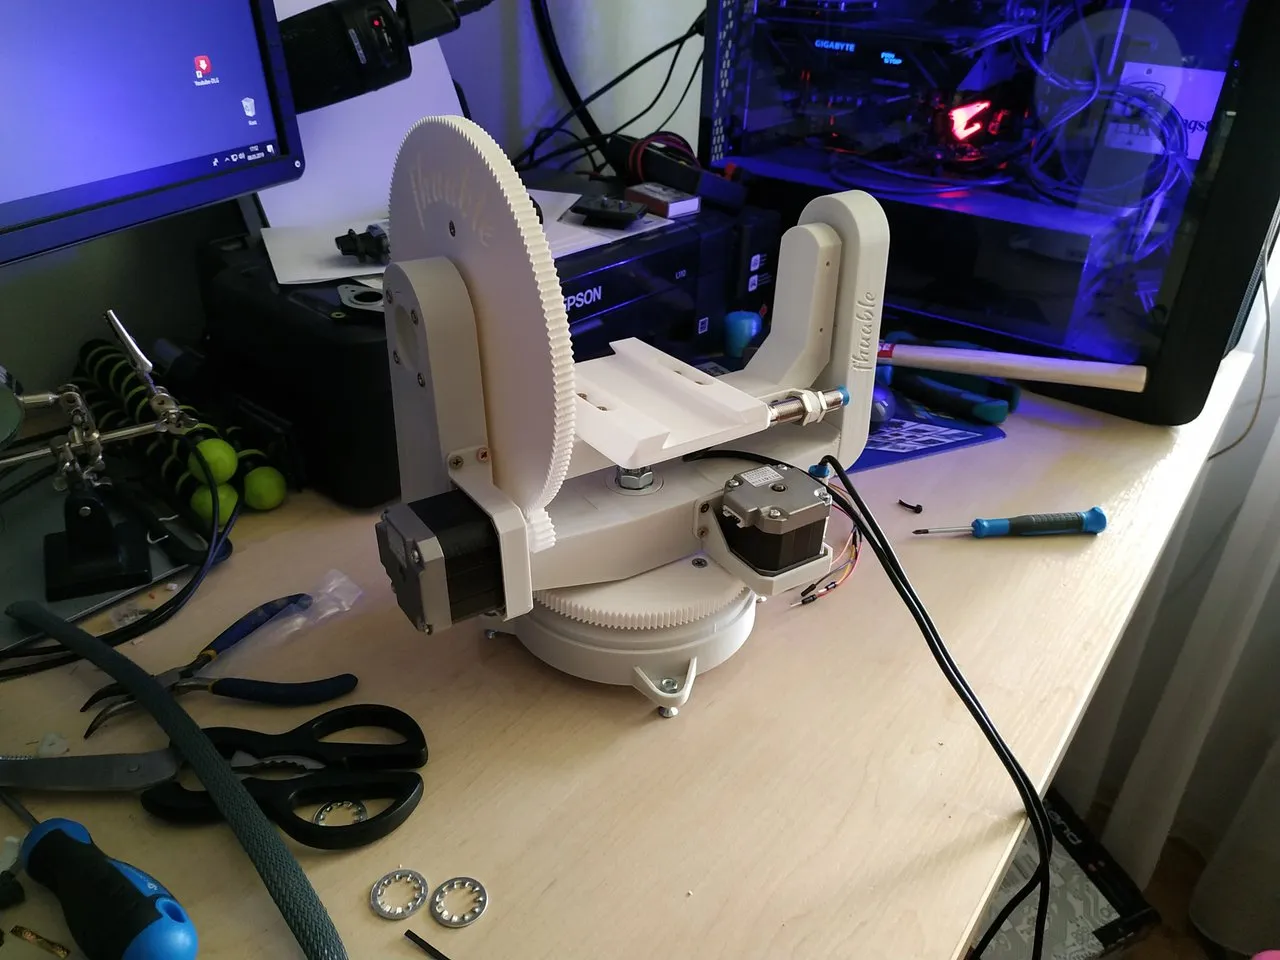 (enlarge)
Objectives
- gimbal on a slider, controlled by a tablet or laptop,
- easily supports a DSLR camera, such as a Nikon or Canon model,
- the camera is controlled by a microcomputer,
- movement in all axes, with some limitations,
- precise positioning is crucial because every step matters in time-lapse photography.
The solution comes from a technique known in 3D printers: stepper motors and the same electronics that control them.
What I Need
- the camera itself is obvious,
- NEMA17 stepper motors,
- screws, bolts and bearings,
- electronic control system and small electronic components,
- a 3D printer and some motivation.
I will describe the specific parts during the assembly process to keep this post clear and concise.
Thingiverse Mechanics
I considered designing the device from scratch, but I already have some basic skills and decided to modify an existing, proven design instead. The mechanical part was based on this gimbal project on Thingiverse, as the mechanism seemed well thought out. I'll write about my changes in future posts.
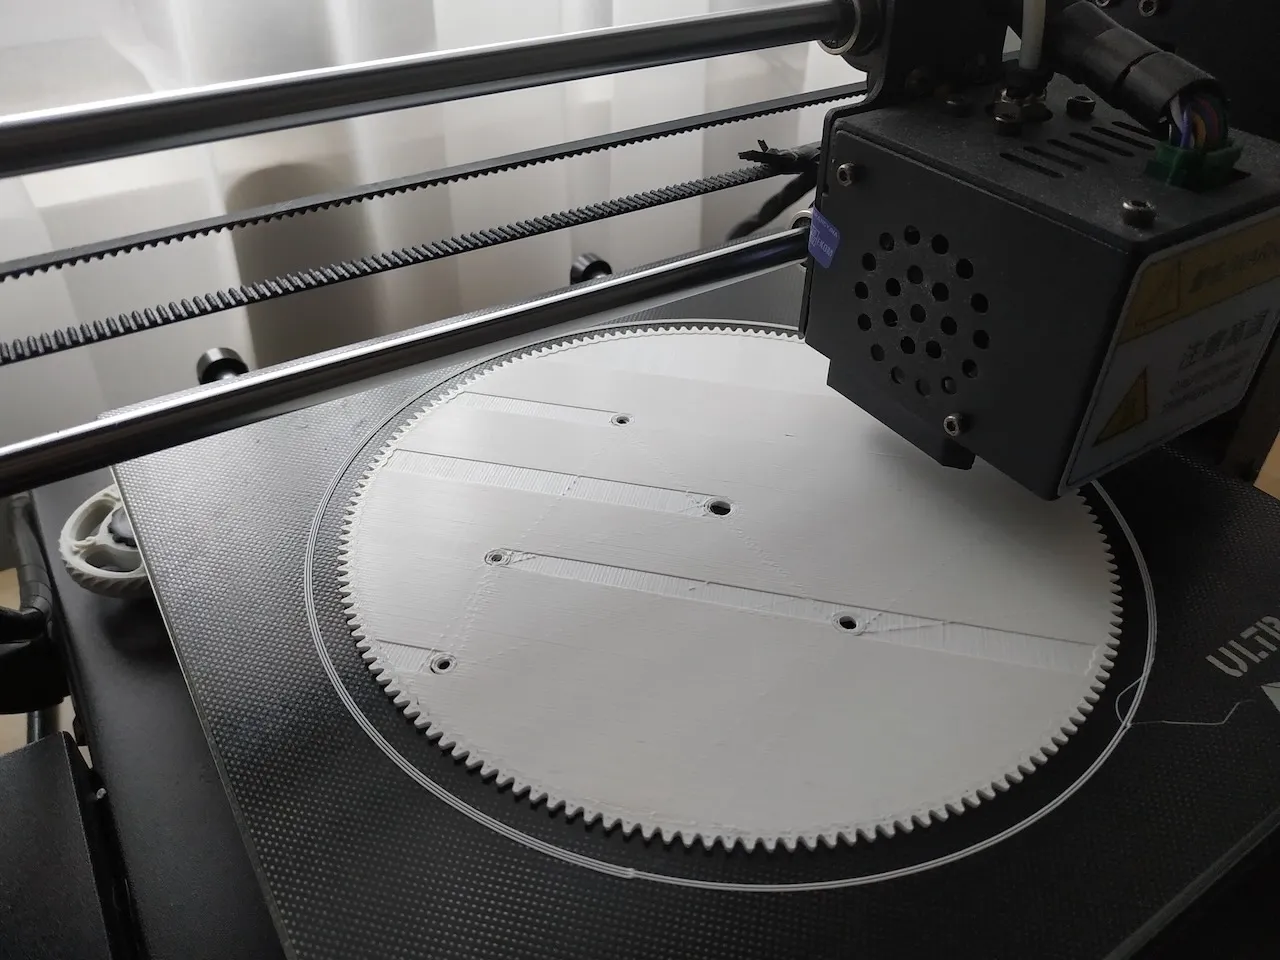
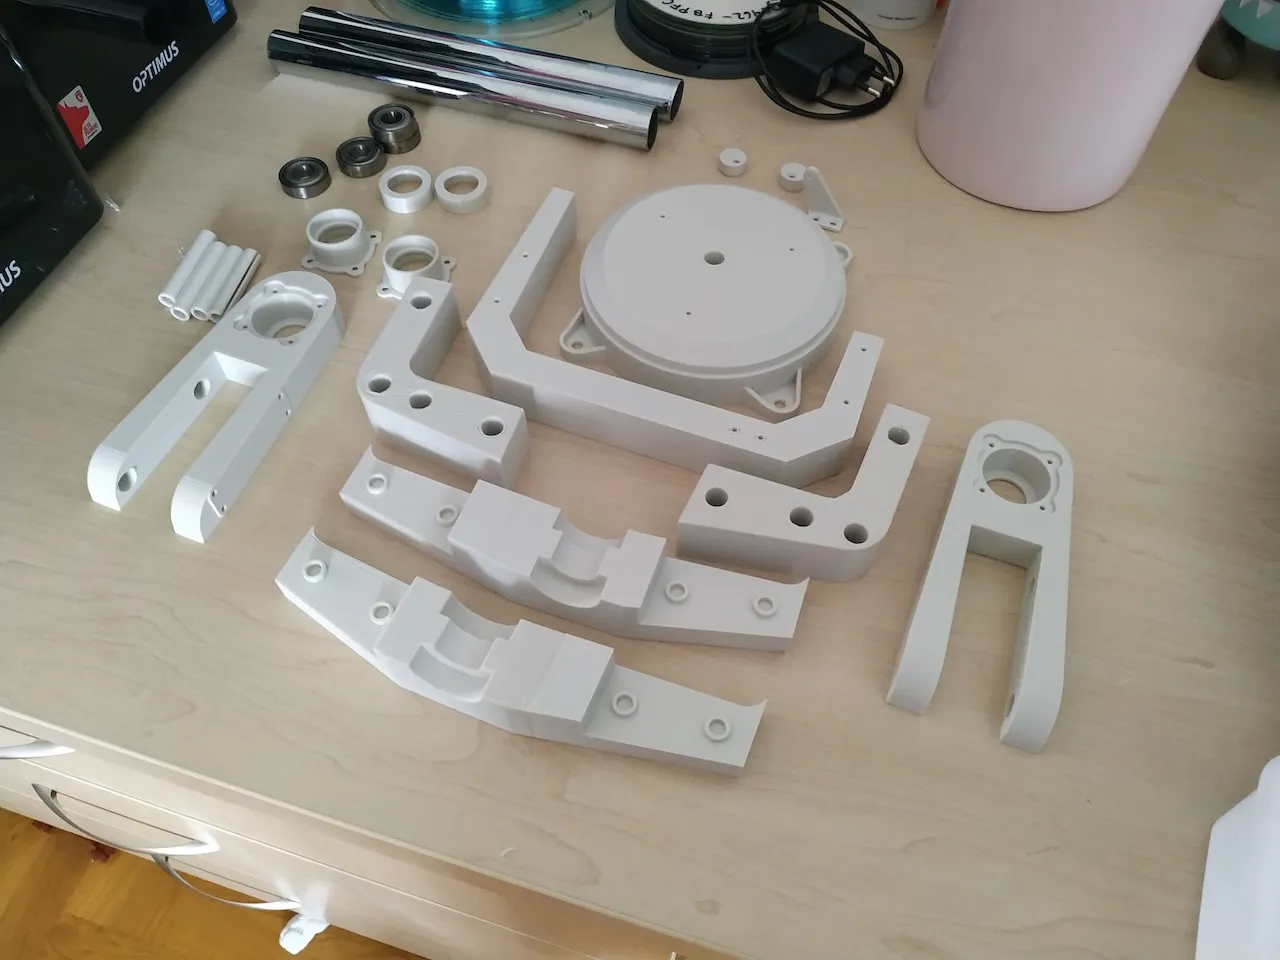
Over 100 hours of printing
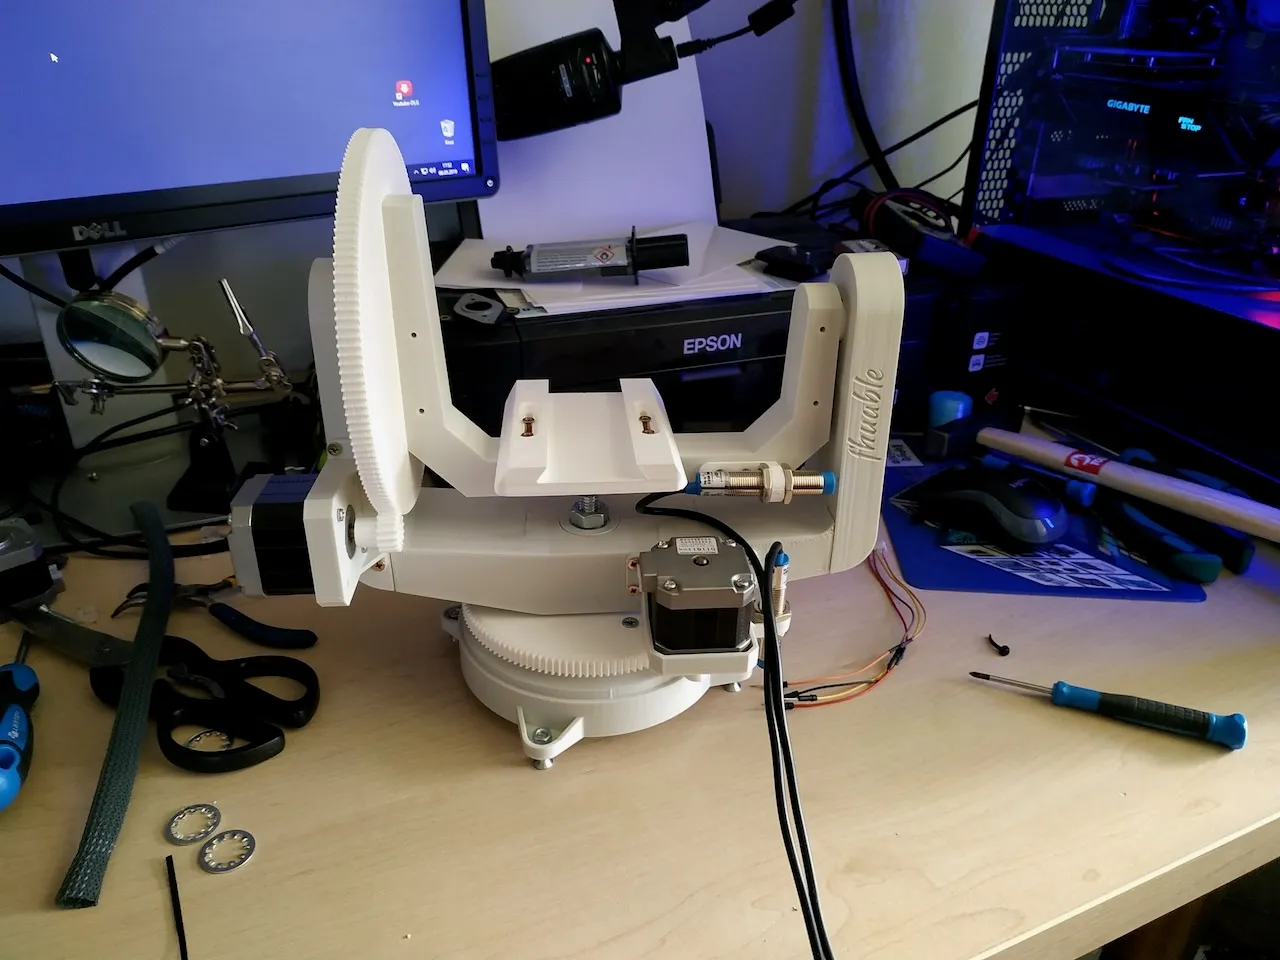
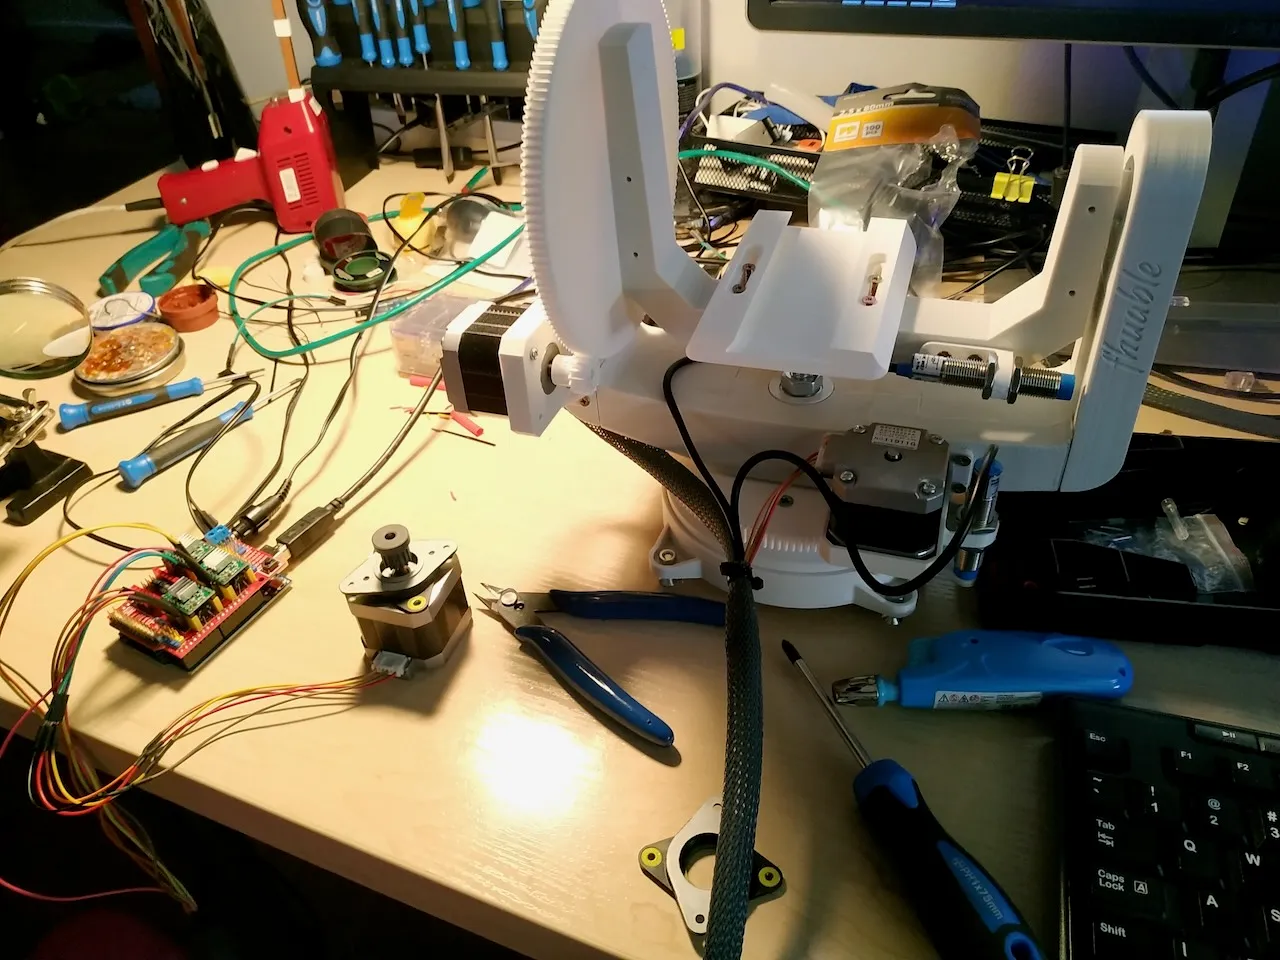
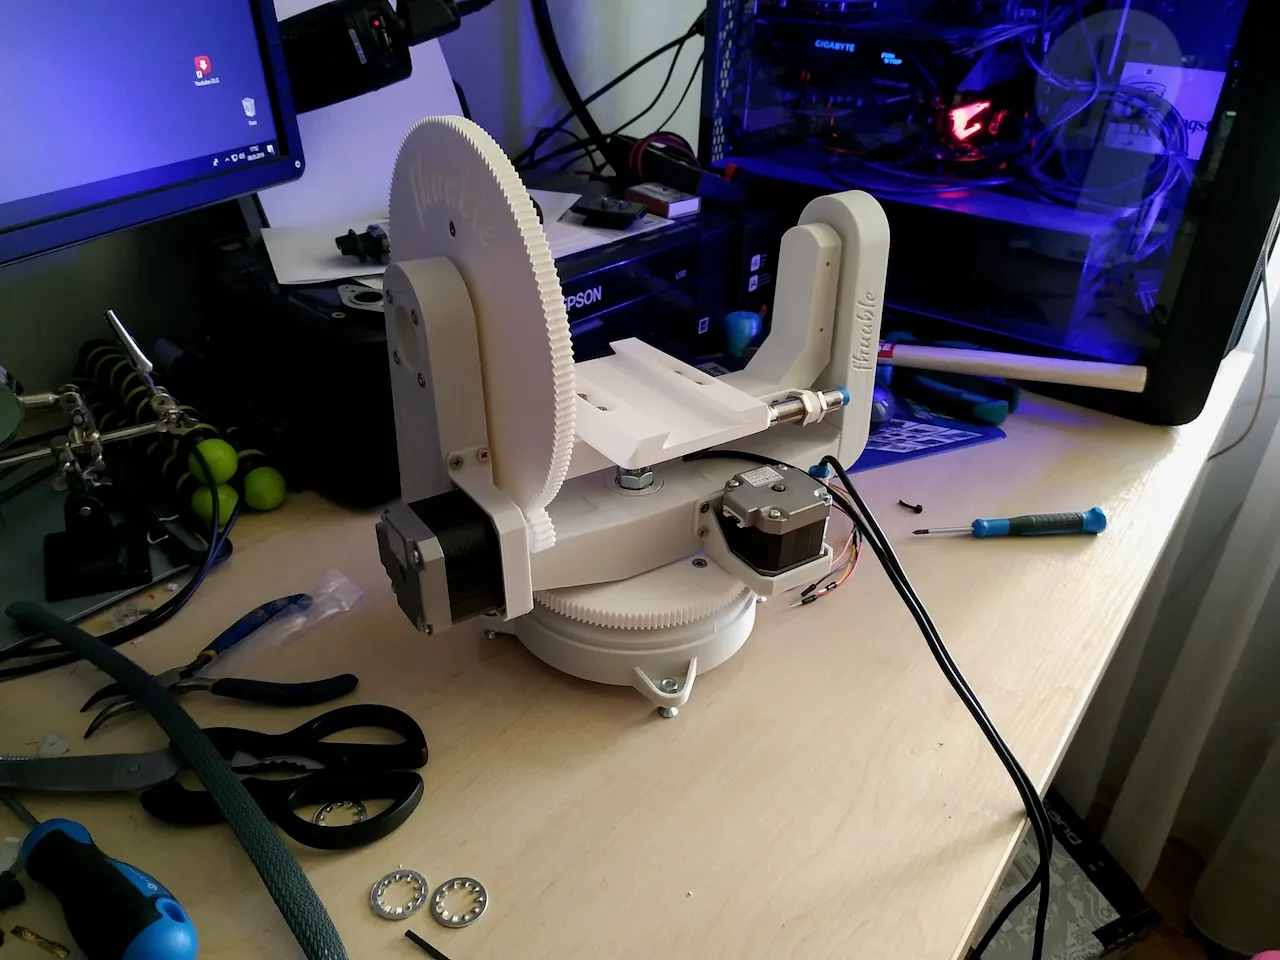
I printed the whole thing. The print took over 100 hours, so I left the big elements for night-time printing. The arm turned out to be bigger than my printer's build plate.
Netfabb by Autodesk was really helpful here. It splits the model into parts and immediately designs pins to connect them. Everything fitted together without any adjustments needed, and the assembled device looks impressive.
What's next
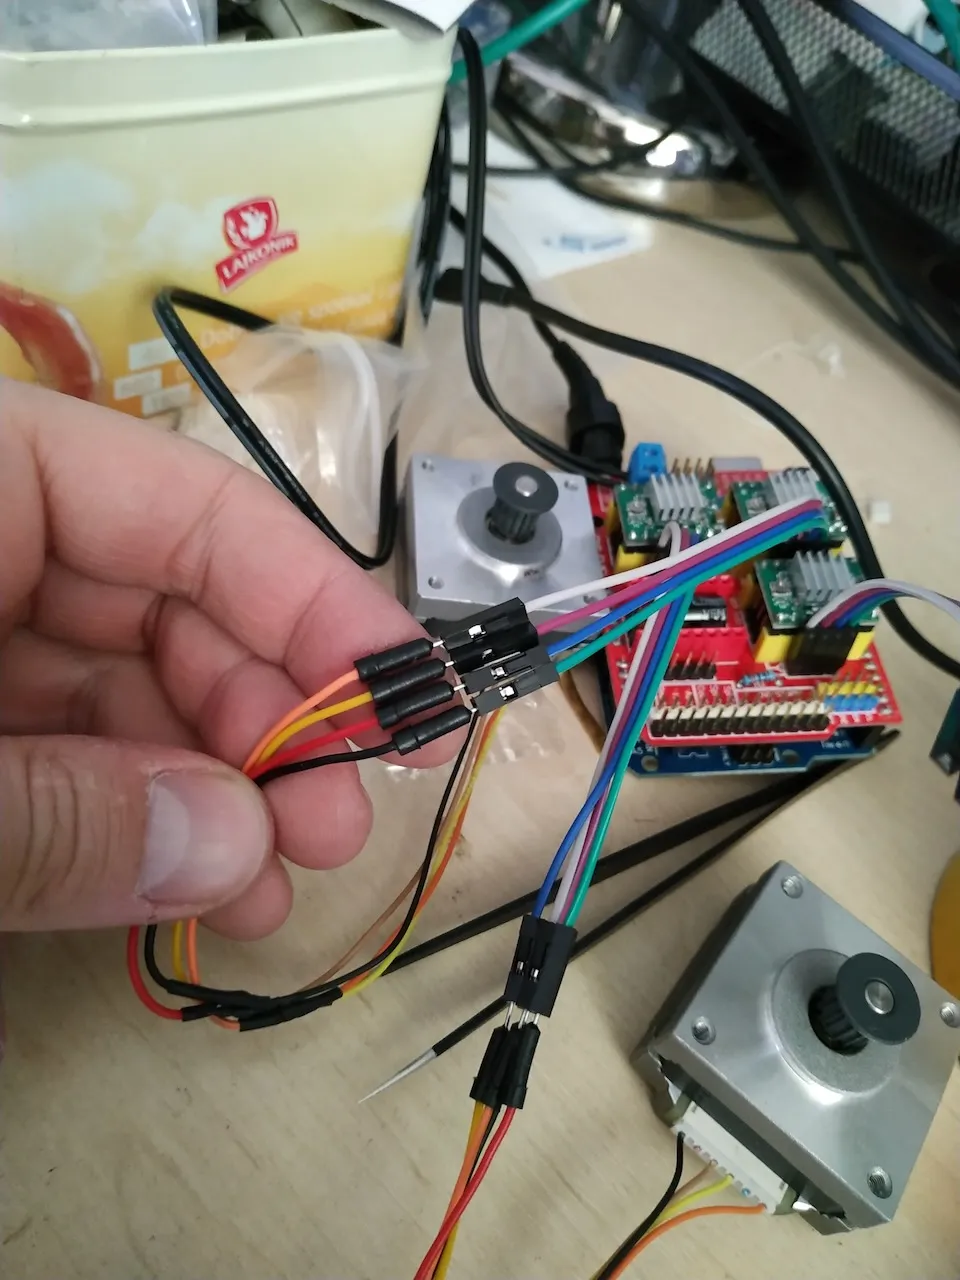
I'm now moving on to assembling the electronics, programming, and the first test run.
Was this useful?
New posts by e-mail
Every now and then, when a new post or project goes up. No ads.
Got an idea, a question or a comment? Write to me:Enable JavaScript to see the e-mail address

Comments
No comments yet. Be the first.