
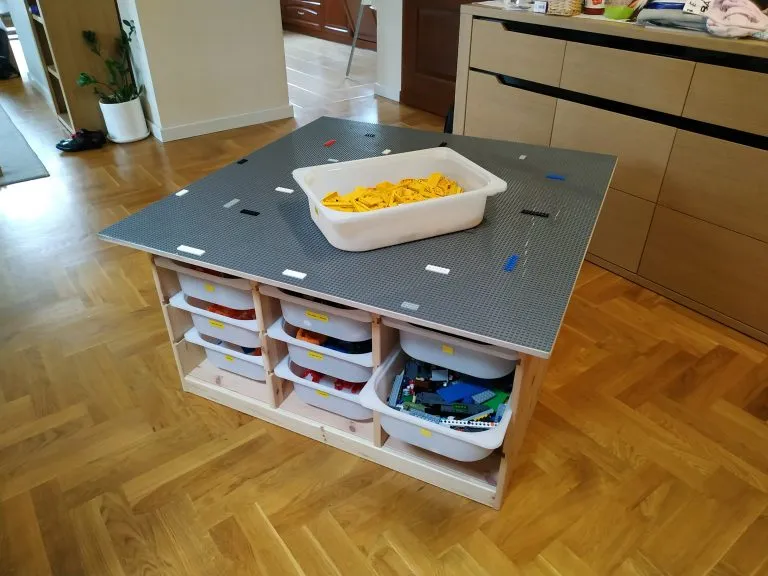
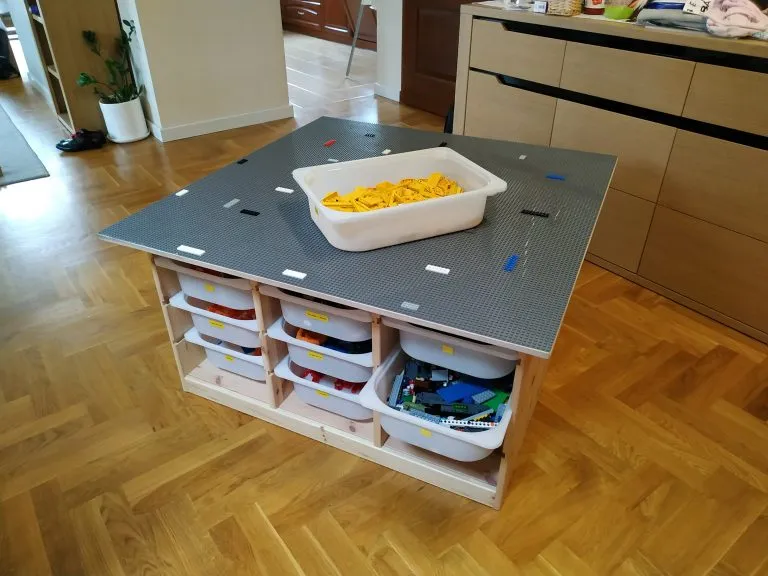
Foldable LEGO building table: plywood top covered with construction plates, supported by two IKEA Trofast shelves that store the bricks. Step-by-step instructions.
When I was a child, LEGO bricks were a rarity. I don't remember anyone among my friends having even one set. Today, my children have dozens of them, and after every play session, I find the bricks scattered all over the house.
The most affected was my foot when I would walk past in the half-light at night to check on the little ones. So, I decided to create a play corner where the LEGO bricks have their own space and built structures can stay on top.
 (enlarge)
Why Not a Ready-Made Furniture Piece
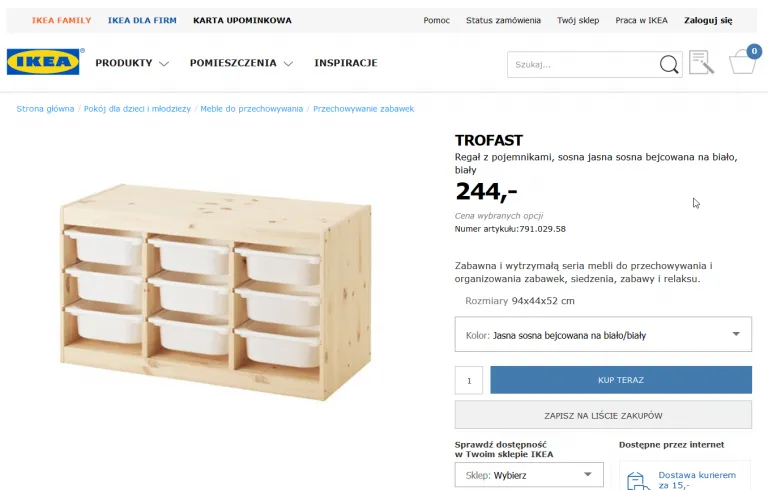
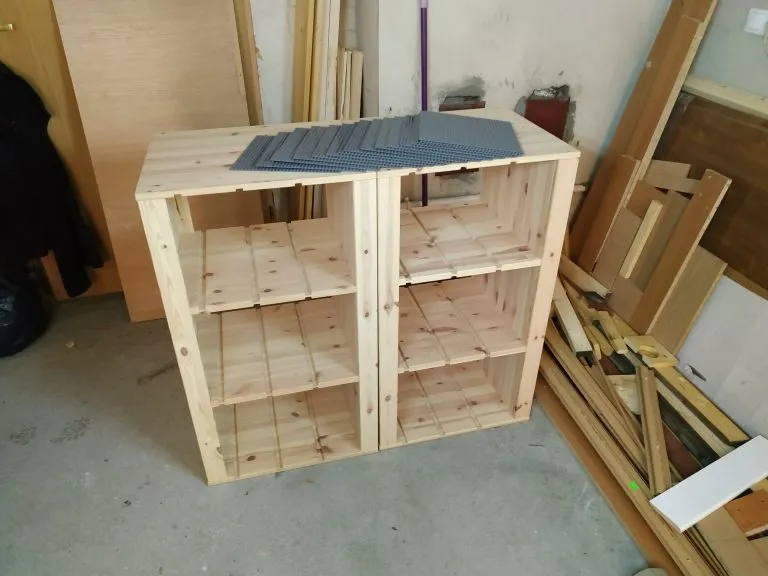
First, I looked through online stores hoping someone had something like this available. I didn't find anything. The most sensible solution for storing the bricks turned out to be the Trofast shelving system from IKEA.
 (enlarge)
The shelf solves the storage issue but children still don't have a place to put their built creatures and structures. I also looked for a play table or bench without success. It was time to roll up my sleeves and get to work myself.
What you need
- 2 Trofast shelves from IKEA and containers to your liking (or just 4 pieces of wood as legs instead of the shelves)
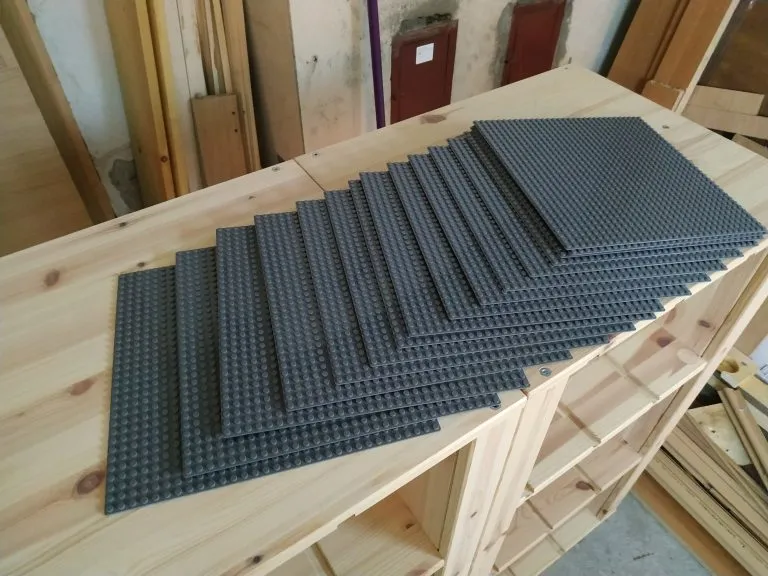
- 16 x 25cm x 25cm LEGO plates - I used cheaper alternatives
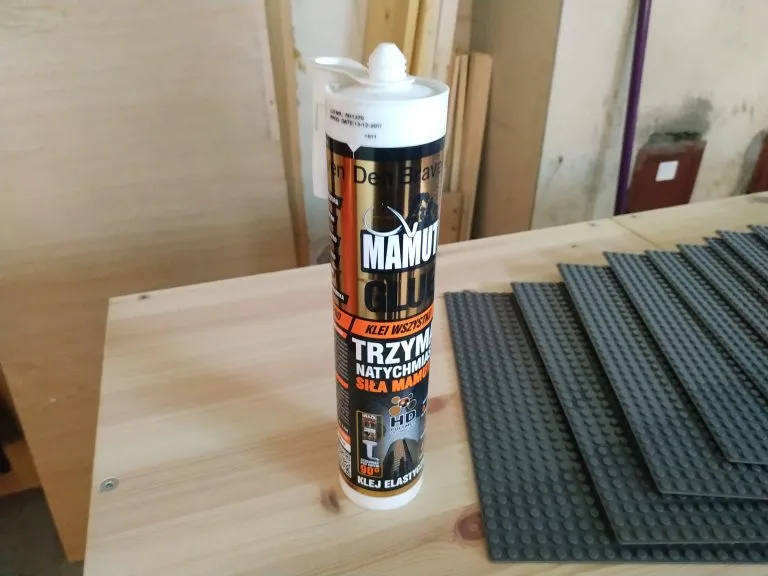
- wood and plastic glue,
- a few screws,
- a sheet of plywood with a thickness of 1 cm (thinner may be used)
- 4 strips of wood, each 1x1 cm in size,
- optionally, a clear varnish or paint to add some color and make the furniture more interesting.
Step 1: Materials
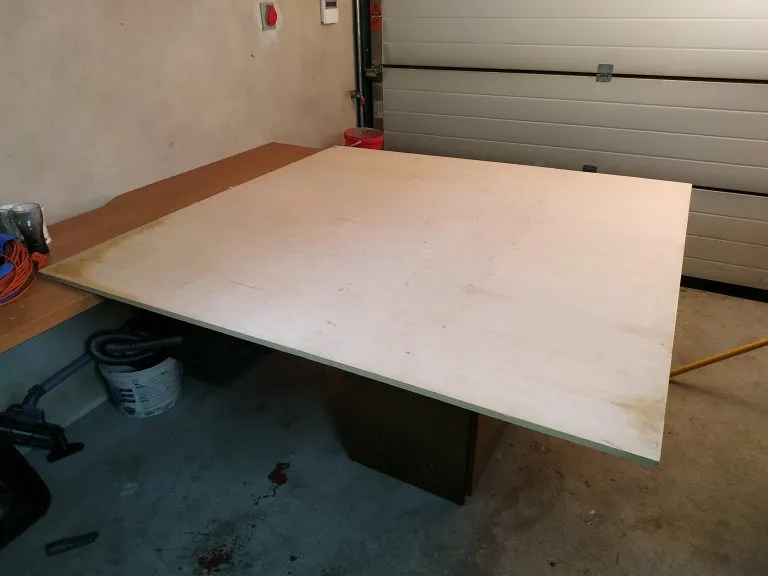
This is how my set looked like before I started working on it.
Step 2: Cutting the plywood
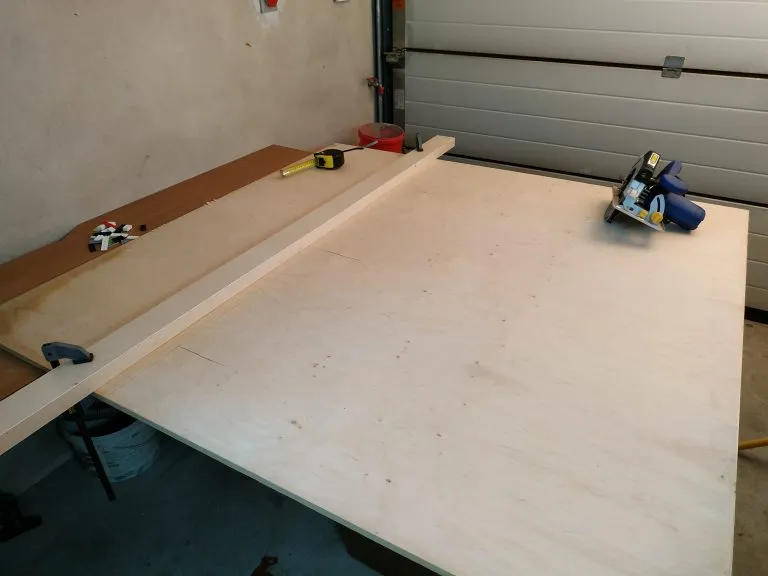
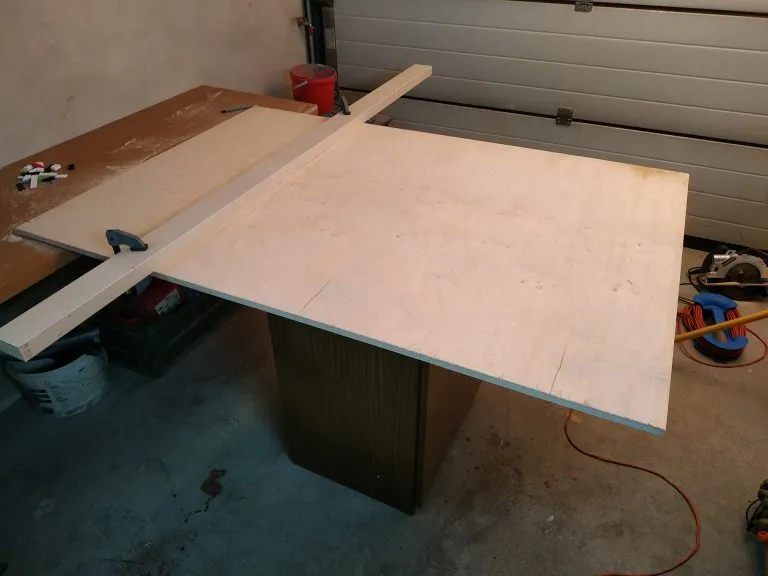
I cut the plywood to the size of the tabletop by guiding the saw along a ruler.
Step 3: Sanding the Edges
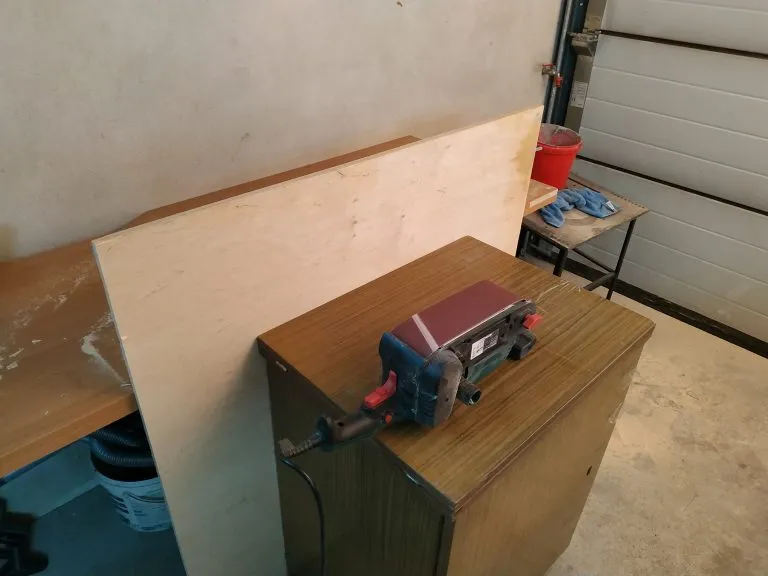
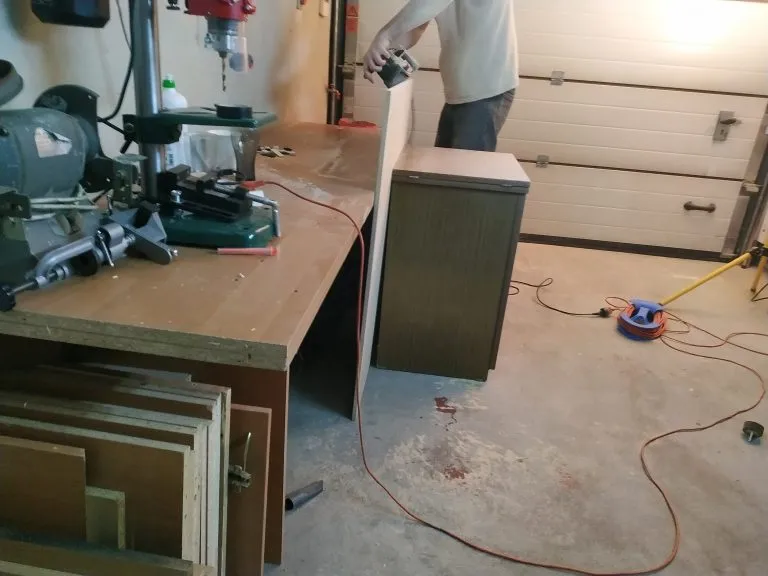
It's a good idea to sand the edges with sandpaper to remove any splinters and rough spots.
Step 4: Trial Fit
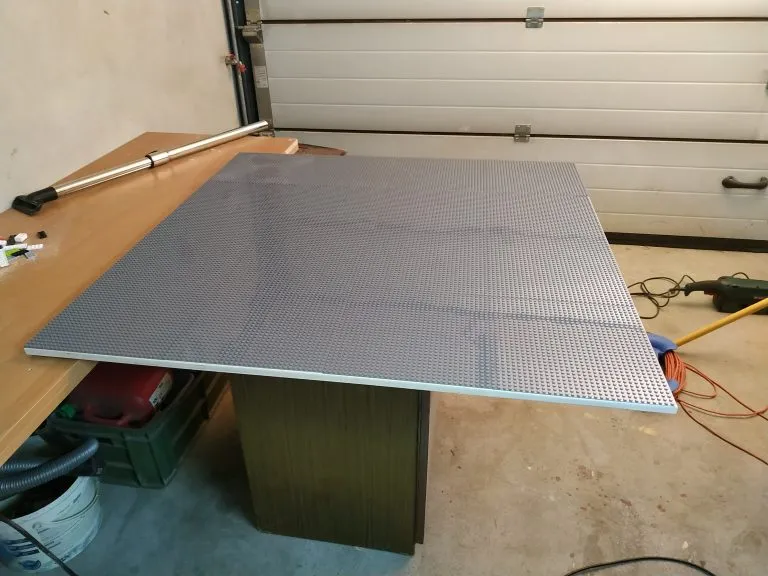
Before gluing, I checked that the boards fit well and that the top was cut correctly.
 (enlarge)
Step 5: Gluing the tiles
- ensure the entire surface of the plywood is well-dusted so that no dust remains under the tiles
- if you want to, paint the plywood once with clear varnish before gluing and let it dry,
- choose a glue suitable for ABS plastic, as that's what LEGO bricks are made of,
- connect the next plates together with bricks so that the connections will be even.
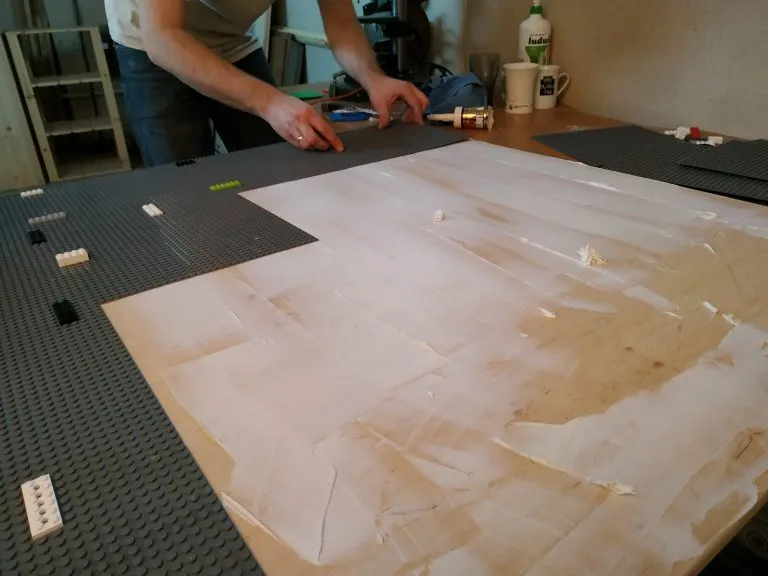
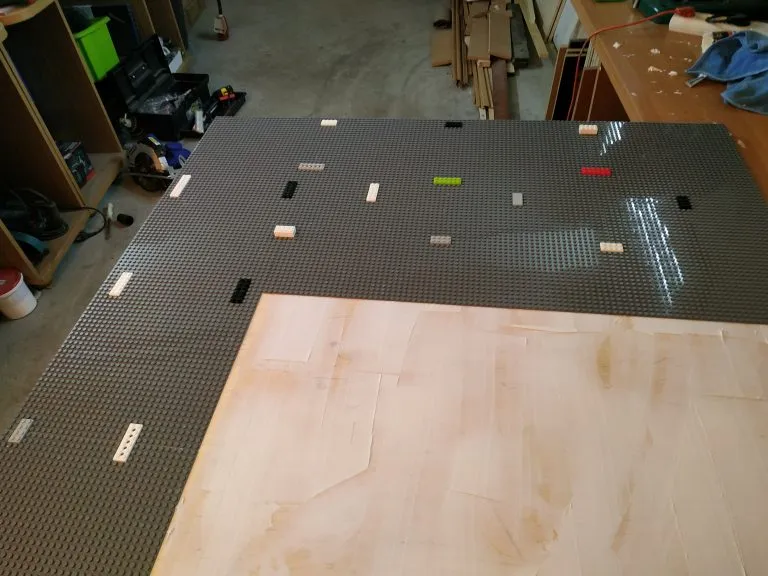
Step 6: Tabletop on Shelves
This step can be done in two ways:
- permanently: the top fixed to the shelves and the entire furniture piece lacquered or painted,
- foldable, like mine: on a daily basis, the shelves stand one on top of the other against the wall, and the tabletop is behind them. For playtime, we unfold everything.
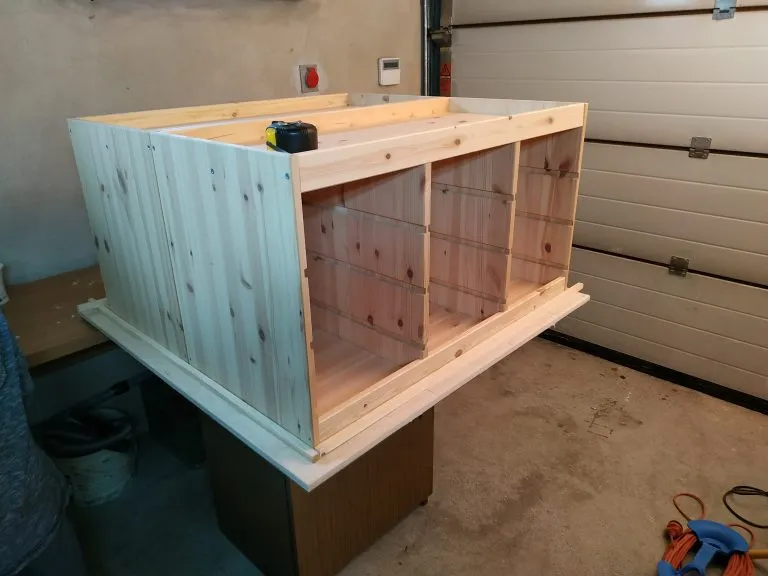 (enlarge)
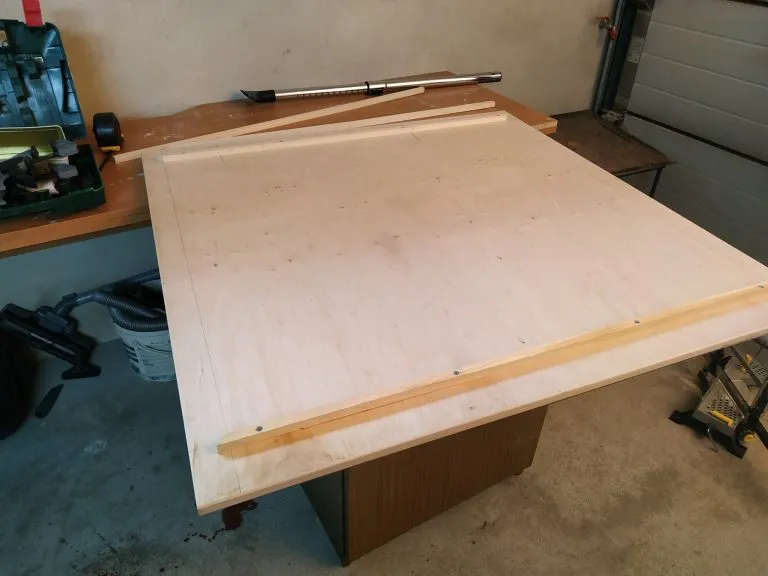
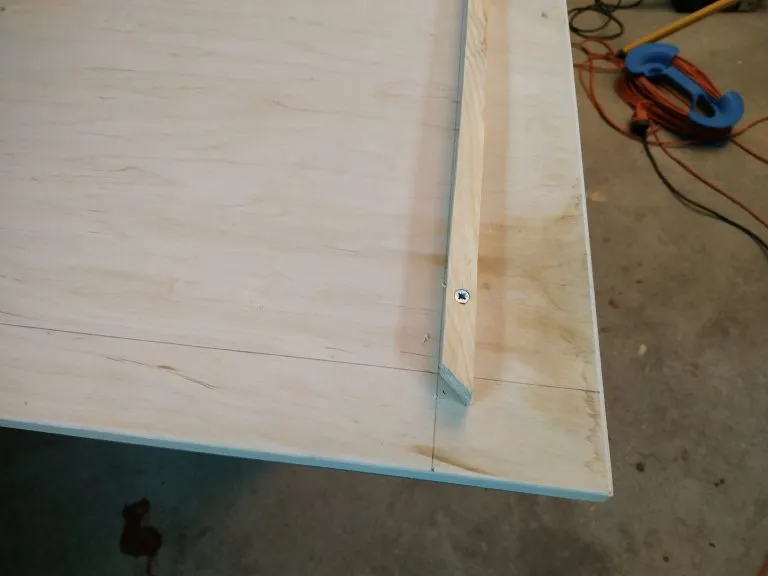
I made the stoppers from strips of wood to fit the tabletop to the shelves. The top doesn't slide during playtime, and the kids won't knock it off their feet. It fits so snugly that they can't lift it themselves.
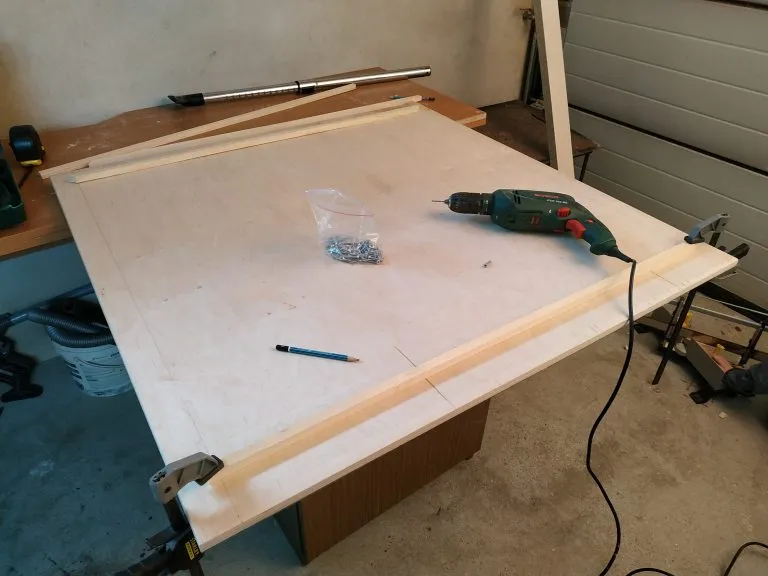
Result
Once assembled, it looks like this:
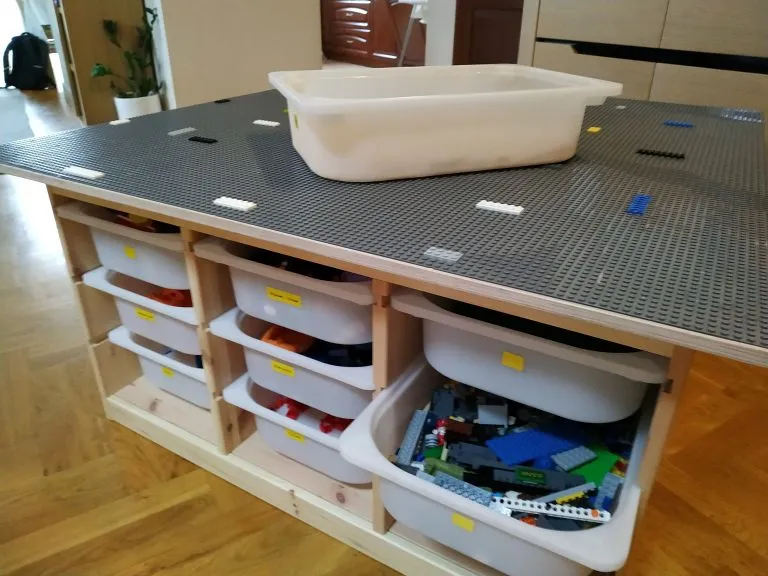
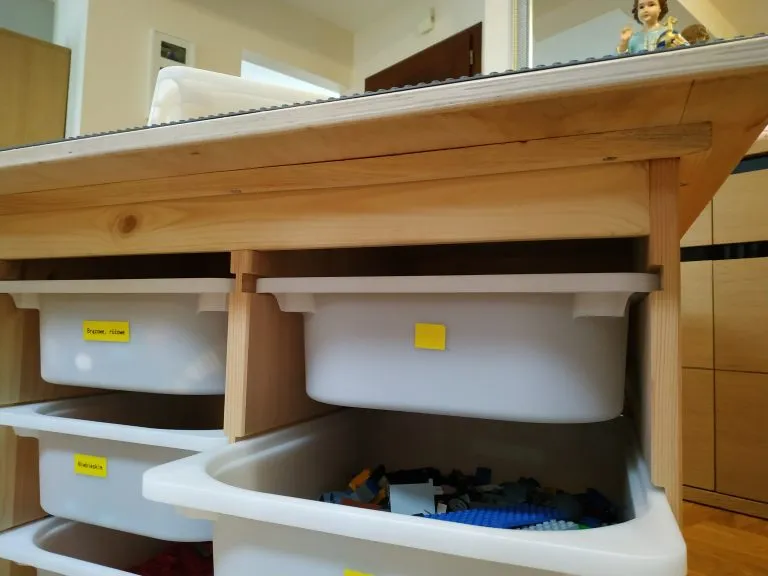
The furniture can still be protected with paint or varnish, and the shelves can be secured together so they don't come apart. I decided this was unnecessary because the whole thing can't be knocked over even if you stand on the worktop.
Most importantly, the kids are thrilled. For me, that's the biggest joy from this project.
Was this useful?
New posts by e-mail
Every now and then, when a new post or project goes up. No ads.
Got an idea, a question or a comment? Write to me:Enable JavaScript to see the e-mail address
Comments
No comments yet. Be the first.